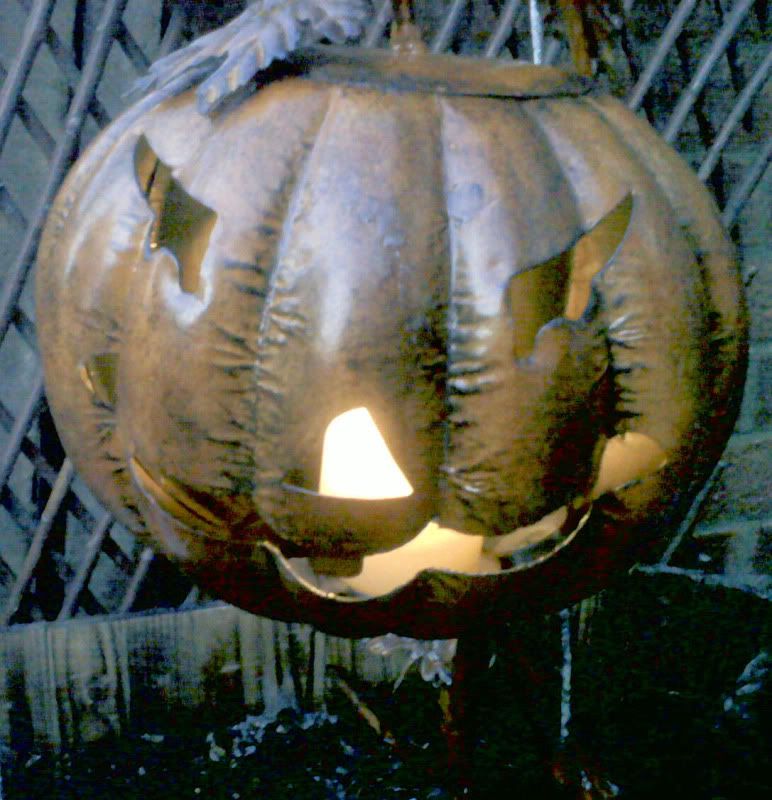
Clearing the garden was mostly hard work, but Derek did mow the lawn for me. I got on with weeding, dead-heading and the tidying up which did indeed give me a bit of back ach...but I suppose now I am 44 I should expect this! ...However the patio was a mess and I had a huge harvest of my tomatoes which I shared with mum, and they were very yummy. After I had tidyed the patio I was struck at just how bare it looks with all my spring and summer flowers gone! So I stood scratching my head thinking of ways to make it more interesting!. Now I have a 3 foot soiled filled wooden tough with a twig trellis above it (which is where my black-eyed Susans climb in summer) and earlier that week I had bought a huge, tin, wiccan looking Jack O' Lantern from TK Maxx...why??? I hear you ask. Basically I liked it, and even though Samhain is a month away I decided to set it on the wooden tough and put a stumpy, but large church candle in it, to light it! The effect was surprizingly good!!...from my hot tub I can watch him flickering and looking menacing, sinister and fun all at the same time! From my bubbling hot steamy tub my TK Maxx Jack looked fantastic! Anyway, this hatched an idea and when I saw Sirius one evening struggling to get around my garden in the dark (as viewed by me in my hot tub) as his eyesight is not very good in the dark...
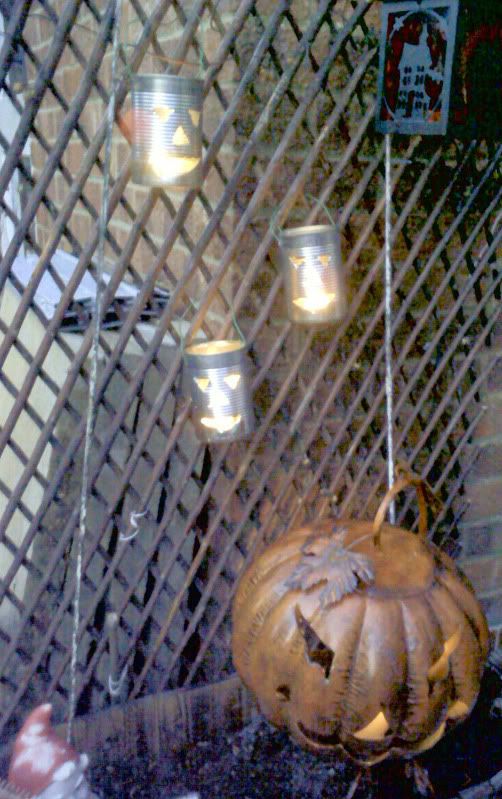
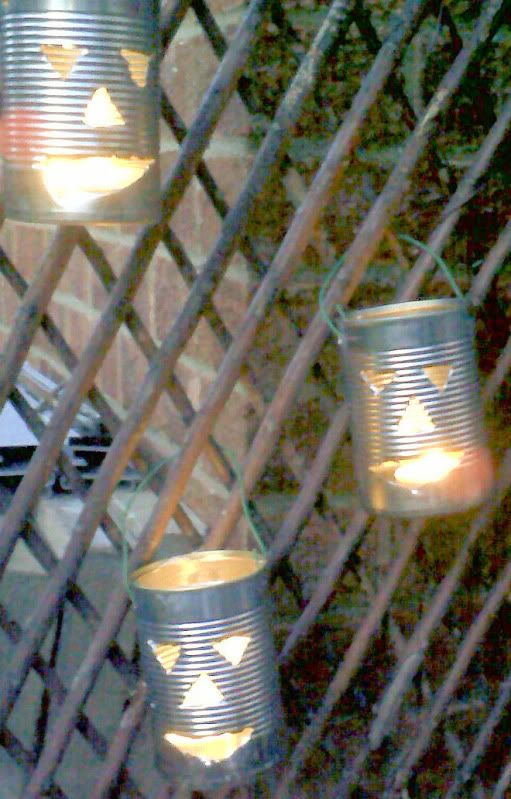
My Jack and indeed my patio was to become a feature lit by candles and now I have a veritable fairy grotto out there, than any Santa would be proud of!! I have been making my own Jack O'Lanterns using nothing more than old dog food tins (washed ofcourse!) a craft knife, some plastacine and a bit of garden wire!! and on Sunday in a space of an hour I had made 3 of them and hung them on the empty trellis above my Maxx Jack...Derek came and gave his objective opinion.
"Good! but you need to paint them!" he exclaimed
So that afternoon we did a dash to hobbycaft for some orange metal paint! However I did not paint them straight away as evening was drawing on and it was getting dark...eagerly I waited for it to get dark enough so that I could light my tin "Jacks" and Oooohh what a delight!!! I was gobsmacked by the effect, and that night I was quite mesmerised by them winking and glittering at me in my tub. They dident even need paint, I decided, as in the dark all you can see is their candle lit faces, and there is an added bonus of extra light on my patio so Sirius can see better when he decides to have a nightime forage around my garden....but I was delighted with my very own fairy glade, so much so I am planning on making more with moons and stars on!! Now this is what I CALL recycling!!!
Below are pictures and details of how I made them, if you want to have a go...But a word of WARNING!!!! craft knives are as sharp as razorblades, if not shaper, and tin cut with such knives will have edges which are equally as sharp, so NEVER let any children near them. My advice would be if your having a Halloween party make some of these as a surprize for children and hang them well out of reach on trees and bushes in the garden. Also tin with candles in gets very hot so do not touch them!!! Blow them out and leave to cool down.
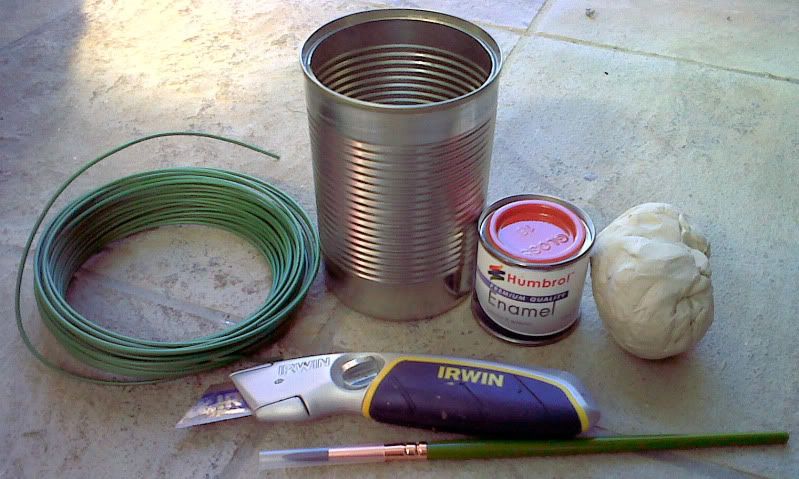
You will need (as well as a very steady hand!) an old tin, washed and dryed, a craft knife like the one pictured, a lump of plastercine or modling clay which I have used, and some garden wire! (paint and brush optional)
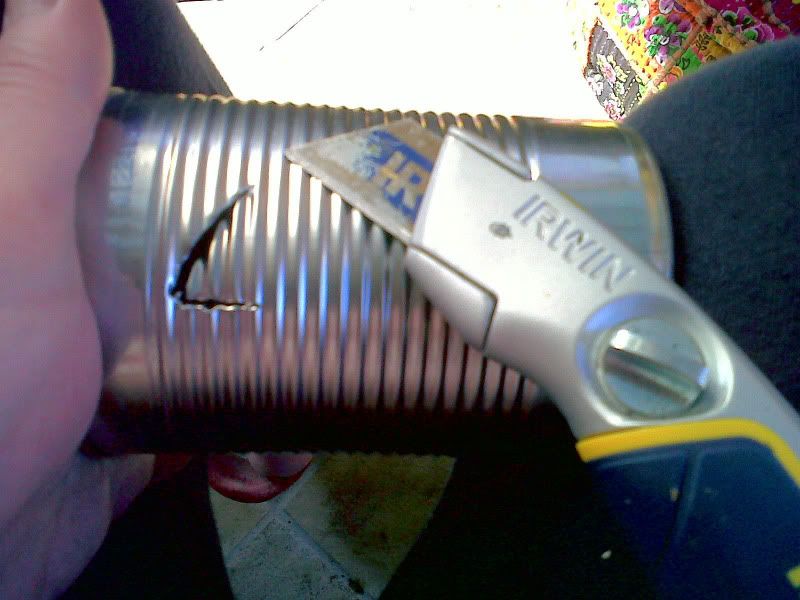
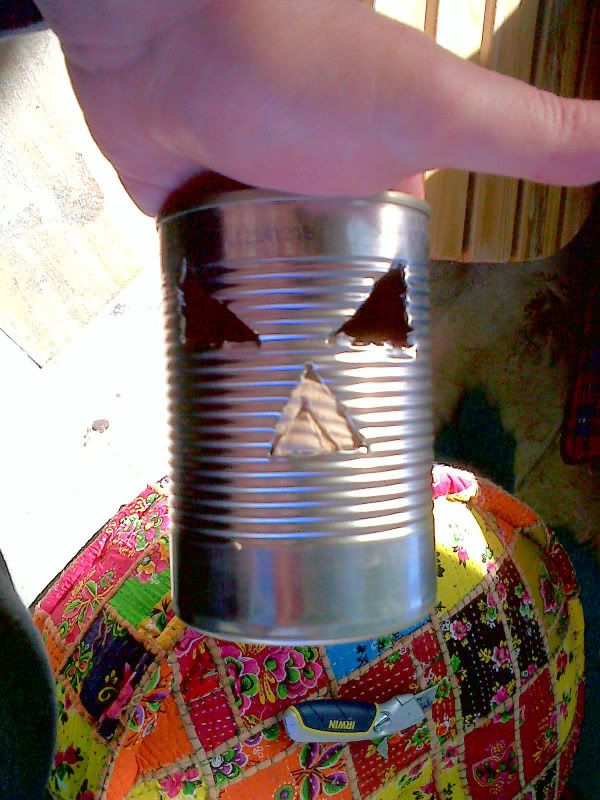
I start with the eyes. Cutting VERY carefully!! By far the simplist shape for the eyes (as well as the nose) is a triangle! The plastacine you hold inside the can so as you cut though the metal, you cut safely into the plastacine...and not your fingers!!!
onto the next eye! again with plastacine in place benith the can! Carefull now!!!
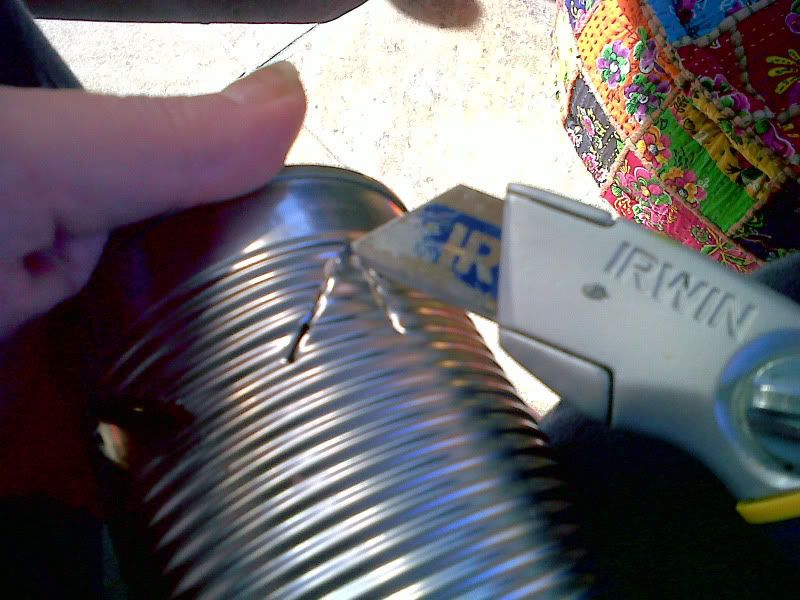
onto the nose and here I show my modeling clay (plastacine) which absorbs the craft knife etches!!
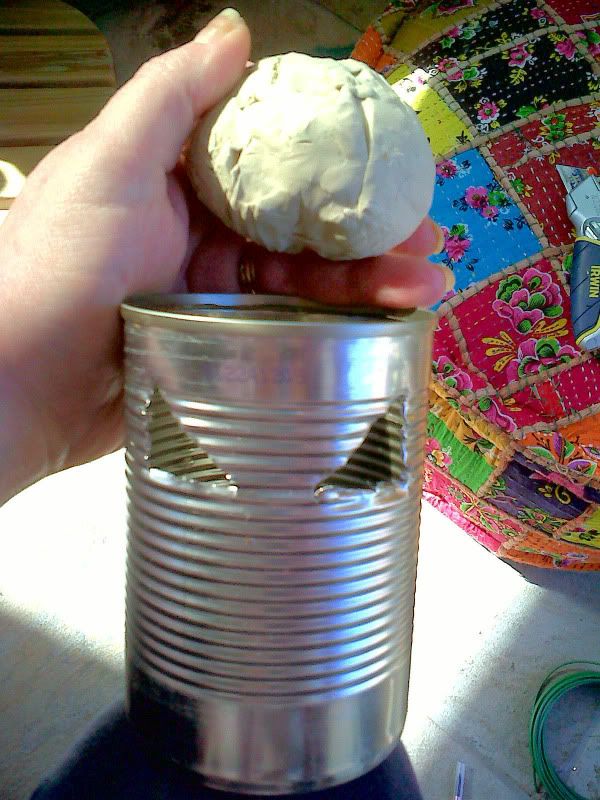
Triangle nose finished with clay in place!
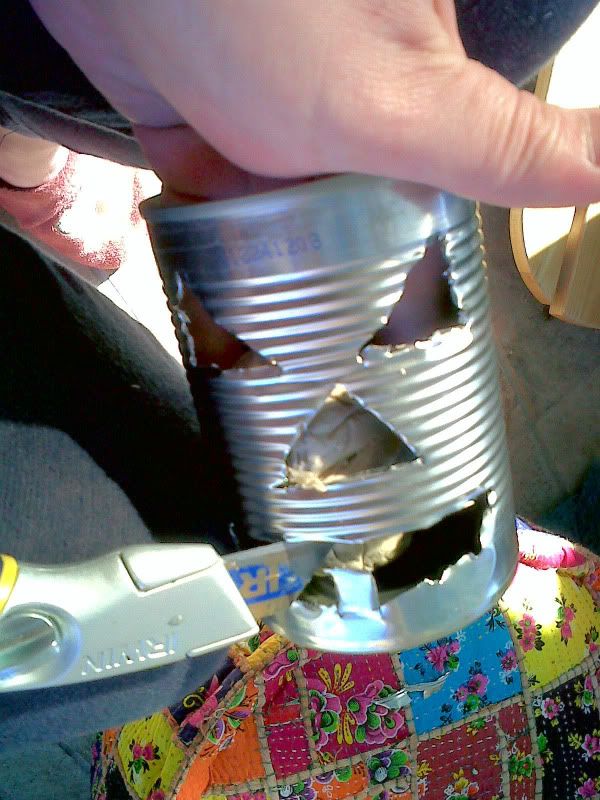
and onto his mouth which is a crescent shape and therefore a little more tricky!!
I have decided to give this guy a single tooth!!
and finally not forgetting two holes at the top of the can on either side. This is where your garden wire hanger goes!
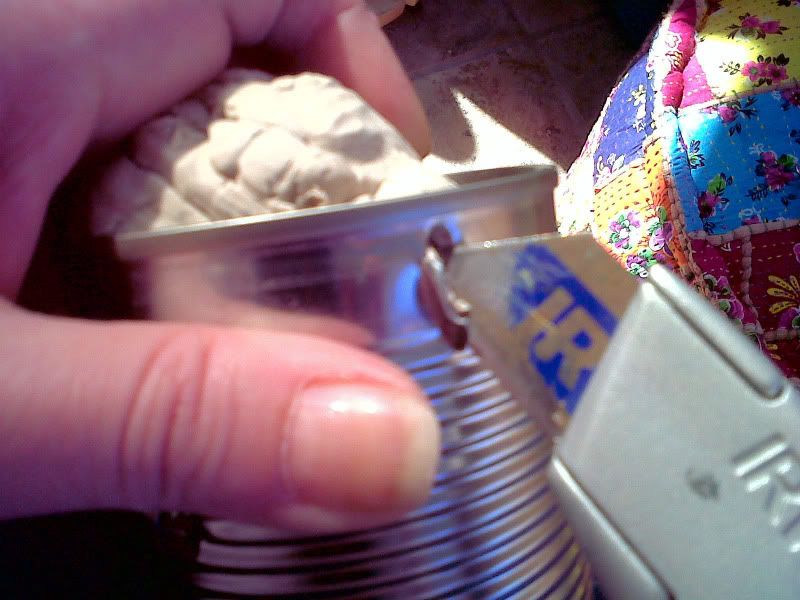
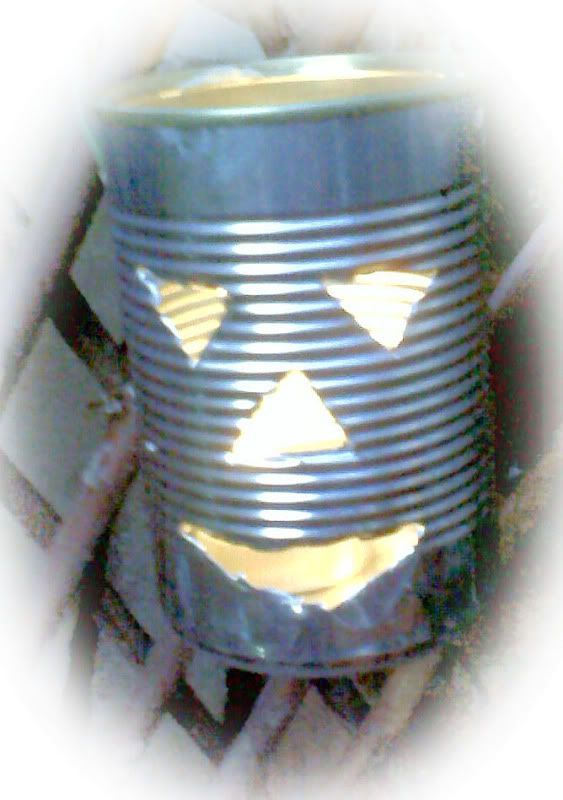
Well this chap is now finished but this is the first one I have painted so although the cutting is done he is still basically a work in progess. My notes on using a craft knife are as follows;
*Alwasy store the knife CLOSED and well away from children. Locked away is even better!
* During use ALWAYS cut away fom your body, and NEVER towards yourself!
*Always use a buffer for the cuts in this case plastercine! and hold firmly in place!
*NEVER use a craft knife after drinking alcohol or taking drugs! Even simple painkillers can have an effect on your judgement!
*ALWAYS keep sharp objects away from children and pets...and anyone under "an influence"...NUFF SAID!!
Now here are some piccies of my Jack fom Maxx (my big boy!) and my homemade Jacks hanging in my garden!!
As I realised very recently, taking pictures in the dark, only lit by candlelight is very difficult as the pictures of the lanterns on a previous blog shows...so these piccies were taken in daylight, but the effect is lost here! They look so much more effective in the dark!!! I am sure you can imagin it! ;)
Have fun! but for goodness sake take great care if you have a go at these!
love Vix
